 Lynden Siding
 New-Construction Windows, Done Right From the Framing Stage
New-construction windows are a different job than replacement windows, even though homeowners often use the terms interchangeably. A new-construction window has a nailing fin around the perimeter of the frame that gets fastened directly to the sheathing before siding goes on. That fin, and how it's integrated with the weather-resistant barrier (WRB) and flashing, is what actually keeps water out of the wall long after the crew has moved on to the next phase of the build. Get that sequence wrong and you won't see the consequences for a year or two — by then it's hidden behind drywall and siding, and the fix is a lot more expensive than the install would have been.
For homes going up in and around Deming, in Whatcom County, this stage of the build deserves more attention than it usually gets. We install new-construction windows on new builds and additions in this area, working alongside framers, siding crews, and general contractors to make sure the window opening is right the first time.
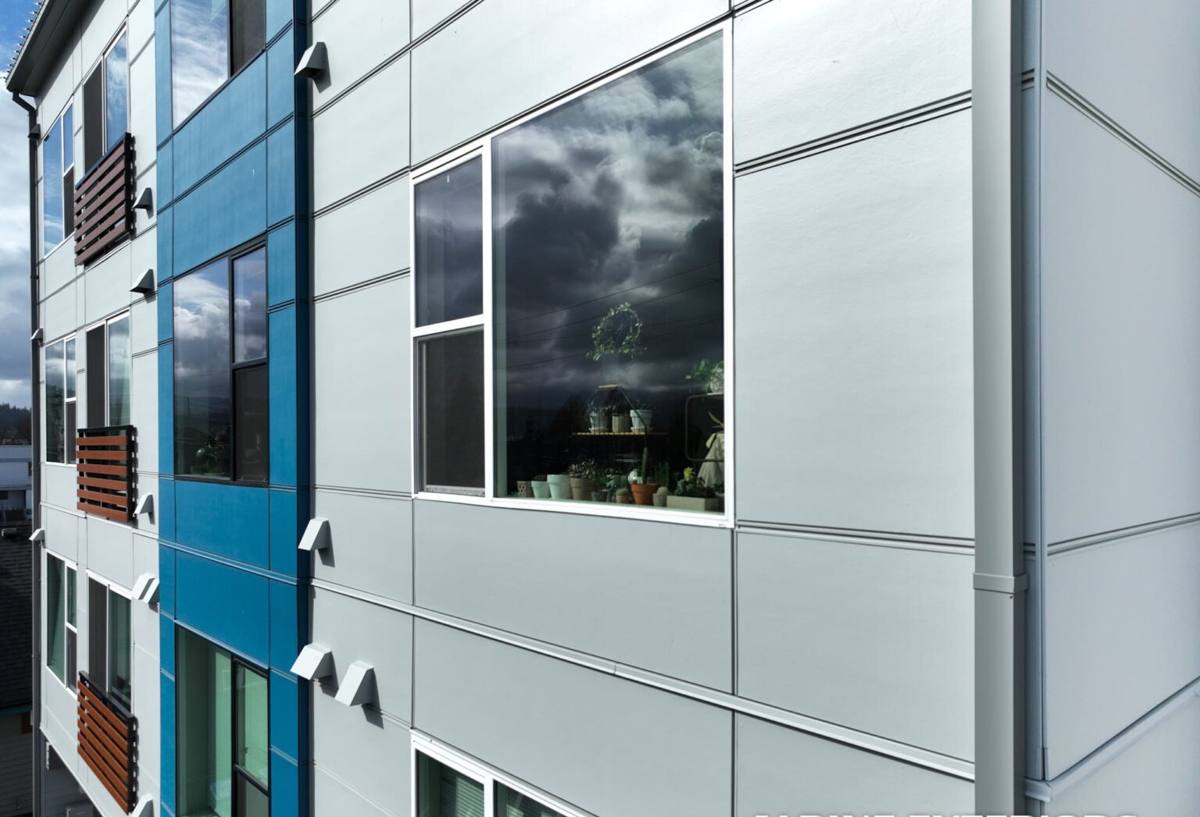
Why Deming's Climate Changes How We Approach This
Whatcom County doesn't get extreme weather in the dramatic sense, but it gets persistent weather, and persistent is what actually wears down a building envelope. Long stretches of steady rain, wind-driven storms that push water sideways into wall assemblies, and a damp season that runs longer here than in drier parts of the state all add up. Add proximity to Puget Sound's marine air and the salt content that comes with it, and you've got conditions that are hard on fasteners, flashing, and any gap in the water management plan.
That moisture load also feeds a long moss season. Moss and algae don't just grow on roofs — they take hold anywhere organic debris and shade combine with sustained dampness, including window sills, trim, and the transition points where a window meets siding. A window that's flashed correctly sheds that water past the assembly. One that isn't gives moisture a place to sit, and sitting water is what eventually finds its way behind the finish and into the framing.
None of this means Deming needs exotic materials or an unusual approach. It means the ordinary steps — sill pan, flashing tape sequencing, fin integration with the WRB — can't be treated as optional or rushed, because this climate doesn't forgive shortcuts the way a drier region might for a few extra years.
What a Correct New-Construction Window Install Actually Involves
A new-construction window install happens in a specific order, and the order matters as much as the materials. Here's the sequence we follow on a rough opening:
- Rough opening check. Confirm the opening is square, plumb, and sized correctly for the window unit before anything else happens. Framing tolerances that are "close enough" for most purposes aren't close enough here.
- Sill pan installation. A sloped sill pan under the window directs any water that gets past the glazing or frame back out to the exterior instead of letting it pool on the rough sill.
- Flashing at the jambs and head, shingle-style. Flashing tape and building paper or housewrap get layered so each piece overlaps the one below it, the same way roof shingles work — water always moving down and out, never trapped behind a lapped seam.
- Setting the window and fastening the nailing fin. The window goes into the opening, gets shimmed and leveled, and the fin is fastened per the manufacturer's schedule — enough fasteners, in the right pattern, without overdriving them and distorting the frame.
- Head flashing integration. The top flashing laps over the WRB above the window so water draining down the wall face never gets behind the window head.
- Sealant at the right points only. Sealant goes where it's supposed to trap water out, not where it would trap water in behind the flashing. This is one of the most common places new-construction installs go wrong — over-sealing the bottom of a window defeats the sill pan's whole purpose.
- Final check and documentation. Before siding closes it in, we confirm the assembly is complete and correctly lapped, since this is the last point anyone can visually verify it without opening the wall back up.
How Our Process Works on a Deming Build
Coordinating With Your Build Schedule
New-construction window work has to slot into a tight sequence with framing, WRB installation, and siding. We coordinate directly with the general contractor or framing crew so windows go in at the right point — after the WRB is up and properly lapped, before siding closes the wall assembly. Showing up too early or too late in that sequence is how gaps get introduced.
Site Walk and Opening Review
Before installation day, we walk the rough openings against the window schedule and manufacturer specs. Catching a sizing or squareness issue at this stage costs nothing compared to catching it after the window is set.
Installation and Flashing
Our crew sets each window following the sequence above, using flashing tape and materials compatible with the WRB already on the wall — mixing incompatible tape and housewrap chemistries is a real failure point we watch for, especially on additions where the existing wall may use a different system than what's spec'd for new work.
Walkthrough Before Siding Closes It In
We do a final check with the builder before siding starts, since that's the last chance to see the flashing assembly directly. After that, everything about whether the window was installed correctly is buried.
Choosing a Frame Material for This Climate
Frame material is a separate decision from the installation method, but it's worth getting right at the same time since you're only framing the opening once. Here's how the common options compare for a Whatcom County build:
| Frame Material | Moisture Tolerance | Maintenance | Typical Cost Position |
|---|---|---|---|
| Vinyl | Good — won't rot, handles damp conditions well | Low; occasional cleaning | Most affordable |
| Fiberglass | Very good — stable in wet/dry cycling, low expansion | Low | Mid to upper range |
| Wood-clad | Depends heavily on clad integrity; interior wood exposed to moisture is a liability | Higher — clad seams and any exposed wood need monitoring | Highest |
| Aluminum | Durable but thermally conductive; condensation risk without thermal break | Low | Mid range |
We don't push any single brand or material as the universal right answer — the right choice depends on your budget, the home's design, and how much long-term maintenance you want to take on. What we do insist on is honest trade-offs: a wood-clad window looks great, but any nick or gap in that cladding is a moisture entry point in a climate that stays damp for months at a stretch, so it needs a homeowner willing to inspect and maintain it. Vinyl and fiberglass ask less of you over time, which matters in a region where moss and algae growth signal ongoing dampness even where you can't see it.
Common Mistakes We See — and Avoid
- Sealing the bottom of the nailing fin instead of leaving it as a weep path for the sill pan
- Flashing tape applied in the wrong lap order, so water runs behind a seam instead of over it
- Fastener schedules skipped or shortcut, leaving the fin under-secured for wind-driven rain
- Mismatched flashing tape and WRB chemistries that don't bond properly over time
- Rough openings that are out of square, forcing the window to be shimmed unevenly and stressing the frame
- Windows installed before the WRB is properly lapped above the opening, leaving a gap at the head flashing
Every one of these is avoidable with a careful crew and isn't visible again until there's a problem. That's the core reason installation quality matters more than most homeowners initially assume for a component they'll otherwise think about only in terms of style and energy efficiency.
Why a Crew That Already Works Deming Matters
New-construction window installation isn't exotic work, but it benefits from a crew that's used to coordinating with local builders, knows the inspection expectations in Whatcom County, and has already seen how this region's rain and moisture patterns play out on real jobs — not just in a manual. We work in Lynden and the surrounding communities, including Deming, regularly enough that showing up on a framing schedule and working alongside your general contractor is routine for us, not a first-time coordination exercise.
That familiarity also means we're not guessing about material compatibility or sequencing when your build uses a WRB or flashing system common to this area. We've installed enough windows in Whatcom County's damp shoulder seasons to know where the failure points tend to show up, and we build our process around avoiding them rather than reacting to a callback.
What to Expect on Timeline
Window installation on a new build typically happens within a fairly narrow window of the overall schedule — after framing and WRB, before siding. Actual install time depends on the number of openings and window sizes, but a typical residential job runs from a single day for a smaller home to several days for a larger custom build with many openings or oversized units. We'll give you a realistic estimate once we've reviewed your plans and window schedule, and we stay in communication with your builder so the sequence doesn't create delays elsewhere in the build.
Get a Free, No-Pressure Estimate
If you're building or adding on in the Deming area and want a crew that treats window flashing as seriously as it deserves in this climate, we'd be glad to take a look at your plans. Fill out the form below for a free estimate — no pressure, just a straight answer on what the job involves and what it'll cost.