 Lynden Siding
 Getting Windows Right the First Time, Before the Siding Goes On
When a home is under construction, there's a narrow window — no pun intended — where the wall assembly is open, the weather-resistive barrier is exposed, and the framing is still accessible. That's the best and really the only time to install windows correctly, because every flashing detail that matters can be seen, checked, and corrected before siding or trim covers it up. Once the wall is closed in, mistakes at the window opening stay hidden until they show up as a stain, a soft spot, or a draft years later.
For homes going up in and around Aldergrove, BC, that first install matters more than it would in a drier climate. This is a wet corner of the country, and the windows going into a new build here need to be treated as part of the water-management system for the whole house, not just glass and frame dropped into a rough opening.
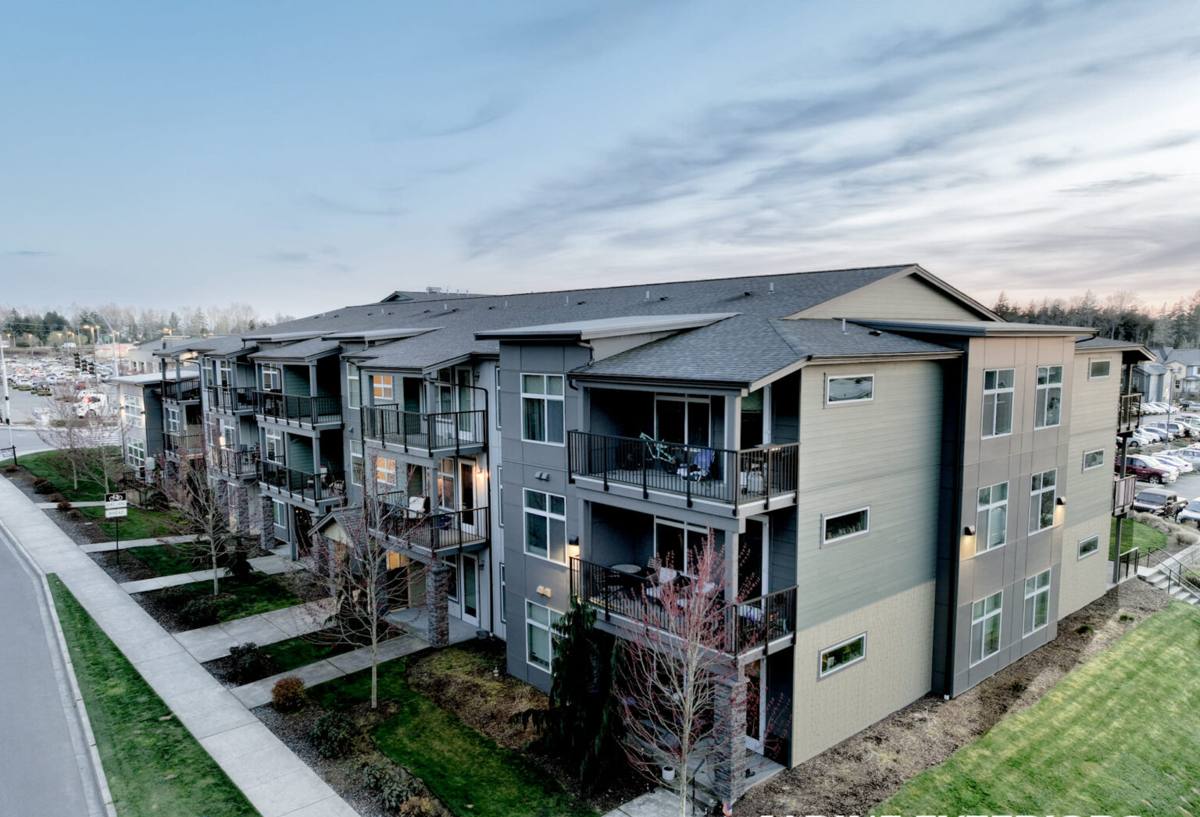
What the Local Climate Does to a Window Opening
Aldergrove sits in the Fraser Valley, close enough to the Strait of Georgia and Boundary Bay that salt-laden air is a real factor, on top of the long, wet Pacific Northwest weather pattern shared with Whatcom County just across the line. Three things in particular put stress on new-construction windows here:
Salt Air
Airborne salt accelerates corrosion on fasteners, hinges, and unprotected metal flashing. It also breaks down cheap sealants faster than an inland climate would. Hardware and flashing components need to be rated for coastal exposure, not just general-purpose.
Driving Rain
Storms here don't just fall straight down — wind-driven rain hits window openings sideways, often from the south and west. That means a window that would stay dry in a calm rain can still take on water during a windstorm if the flashing isn't built to shed water outward and downward at every layer, not just at the surface.
A Long Moss Season
Cool, damp conditions for much of the year mean moss and algae get a long runway to establish themselves on any surface that stays wet — window sills, sub-sills, and trim included. Beyond the cosmetic staining, moss holds moisture against wood and trim longer than it would otherwise sit, which is exactly the condition that leads to rot around a window opening over time.
New-Construction Windows vs. Replacement Windows: Why the Difference Matters
New-construction windows and replacement windows solve different problems, and installing the wrong type — or installing a new-construction window the way you'd install a replacement — is one of the most common sources of long-term leaks in new builds.
A true new-construction window has a nailing flange (fin) around the perimeter that gets integrated directly into the weather-resistive barrier and flashing system before siding goes on. That flange is the backbone of the water-management plan for the opening. Replacement windows, by contrast, are built to fit into an existing finished opening without disturbing the surrounding wall — useful for remodels, but not the right approach for new construction, where you have full access to build the assembly correctly from the framing out.
Using a replacement-style window in new construction, or skipping proper flange integration to save time, often looks fine on install day and only reveals itself as a problem once the first serious storm off the strait pushes rain sideways into the wall.
The Flashing and Drainage Details That Actually Prevent Leaks
The window unit itself is rarely where a new-construction leak starts. Almost always, it's a gap or a sequencing error in the flashing. A correct install follows a specific order so that water is always directed outward and down, layer over layer, like shingles on a roof:
- Sill pan flashing installed first, sloped slightly to the exterior, so any water that does get past the window has somewhere to go besides the framing.
- Side flashing lapped over the sill pan.
- The window unit set into the opening, plumb, level, and square, and fastened per the manufacturer's schedule — not just wherever it happens to line up.
- Head flashing installed last at the top, lapped over the side flashing and integrated with the weather-resistive barrier above so water sheds over the top of the window, never behind it.
- Sealant used only where the manufacturer specifies it — sealing the wrong joint can trap water instead of keeping it out.
Every one of those laps has to run the right direction. It sounds simple written out, but it's the step where rushed or unfamiliar crews cut corners, and it's invisible once the siding is on. This is also where the moss and staining conversation connects back to the flashing: a sill pan with the wrong slope, or a missing drip cap, gives water a place to sit instead of drain — and standing water is what moss and algae need to take hold on the sill and trim below.
Choosing a Frame Material for This Climate
New construction is also the right time to think through frame material, since you're choosing from a clean slate rather than working around an existing opening. There's no single correct answer — it depends on budget, the home's exposure, and how much upkeep the owner wants to take on.
| Frame Material | Upfront Cost | Moisture & Salt-Air Tolerance | Maintenance |
|---|---|---|---|
| Vinyl | Lower | Good — won't rot or corrode, but check gasket and weep-hole quality | Low — occasional cleaning of weep holes and tracks |
| Fiberglass | Mid to higher | Very good — dimensionally stable, holds up well to swings between wet and dry | Low |
| Wood-clad | Higher | Good on the clad exterior; the wood interior needs the cladding and flashing to be flawless to avoid hidden rot | Higher — interior finish upkeep, and any cladding breach needs prompt attention |
In a driving-rain, long-moss-season climate like this one, we lean toward frame and glazing packages with proven weep-hole and drainage design over ones chosen on looks alone. A beautiful window with a poor drainage path will still stain and eventually leak here.
Our New-Construction Window Process
We work new-construction windows the same way regardless of whether the site is on the Washington side of the border or up in Aldergrove: coordinated with the build schedule, not squeezed in after the fact.
1. Plan Around the Framing Stage
We review the window schedule and rough openings with the builder or homeowner before framing is locked in, so sizes, swing directions, and any structural headers are confirmed early — changes are cheap before the wall is closed, expensive after.
2. Install in Sequence with the Weather-Resistive Barrier
Windows go in as part of the wall's water-management system, integrated with the housewrap or building paper in the correct shingle-lap order described above, not bolted in as an afterthought.
3. Verify Before Covering
Every opening gets checked — plumb, level, square, flashing laps correct, fasteners set — before siding or trim closes it in. This is the point where a problem is a five-minute fix instead of a warranty claim.
4. Finish and Document
Interior and exterior trim goes on last, and we note what was installed and how for the homeowner's records — useful for warranty purposes and for whoever owns the house down the road.
What a Correct New-Construction Window Install Includes
If you're comparing quotes or checking a crew's work, here's what should be part of every new-construction window install in this climate:
- Sill pan flashing sloped to the exterior, installed before the window goes in
- Flashing lapped in the correct shingle order — sill, sides, then head
- Weather-resistive barrier integrated with the flashing, not just taped over the flange
- Fasteners set per the manufacturer's schedule, in every hole specified
- Unit checked plumb, level, and square before flashing is finished
- Sealant used only at manufacturer-specified joints, not as a substitute for correct flashing
- Weep holes and drainage paths left clear and unobstructed
- Corrosion-resistant fasteners and hardware appropriate for coastal exposure
Why a Crew That Already Works Aldergrove Matters
Aldergrove sits close enough to Lynden that we work both sides of the border regularly, and that matters for a few practical reasons beyond just knowing the roads. We're used to coordinating with builders on both sides of the line, we know what wind-driven rain off the strait actually does to a west- or south-facing opening versus a sheltered one, and we've seen firsthand what happens to window sills and trim that don't get a properly sloped drainage path through a full Fraser Valley wet season. That's the kind of judgment that only comes from doing the work in this specific climate repeatedly, not from a general install checklist.
We also know this region's moss and algae patterns well enough to flag, before installation, which elevations and window placements are going to need the most attention to drainage detail — information that's far more useful worked into the plan up front than discovered after the first wet winter.
Get a Free Estimate
If you're building or planning to build in Aldergrove and want windows installed the right way from the framing stage forward, we're happy to walk through the plans with you. Fill out the form below for a free, no-pressure estimate — no obligation, just a straight answer on what your project needs.