 Lynden Siding
 Siding Built for Aldergrove's Climate, Not Just Installed On It
Aldergrove sits close enough to the Washington border that its homes deal with the same weather pattern we see throughout Whatcom County: salt-tinged air moving in off the Strait of Georgia, long stretches of driving rain through fall and winter, and a moss season that seems to start earlier and last longer every year. That combination is hard on exterior cladding. Siding that looks fine in a showroom photo can start failing within a few years if it isn't matched to this specific climate and installed with the water management details this region actually requires.
We install James Hardie fiber cement siding exclusively, and this page is about one thing: what a correct siding installation looks like for a home in the Aldergrove area, and why the process matters as much as the product.
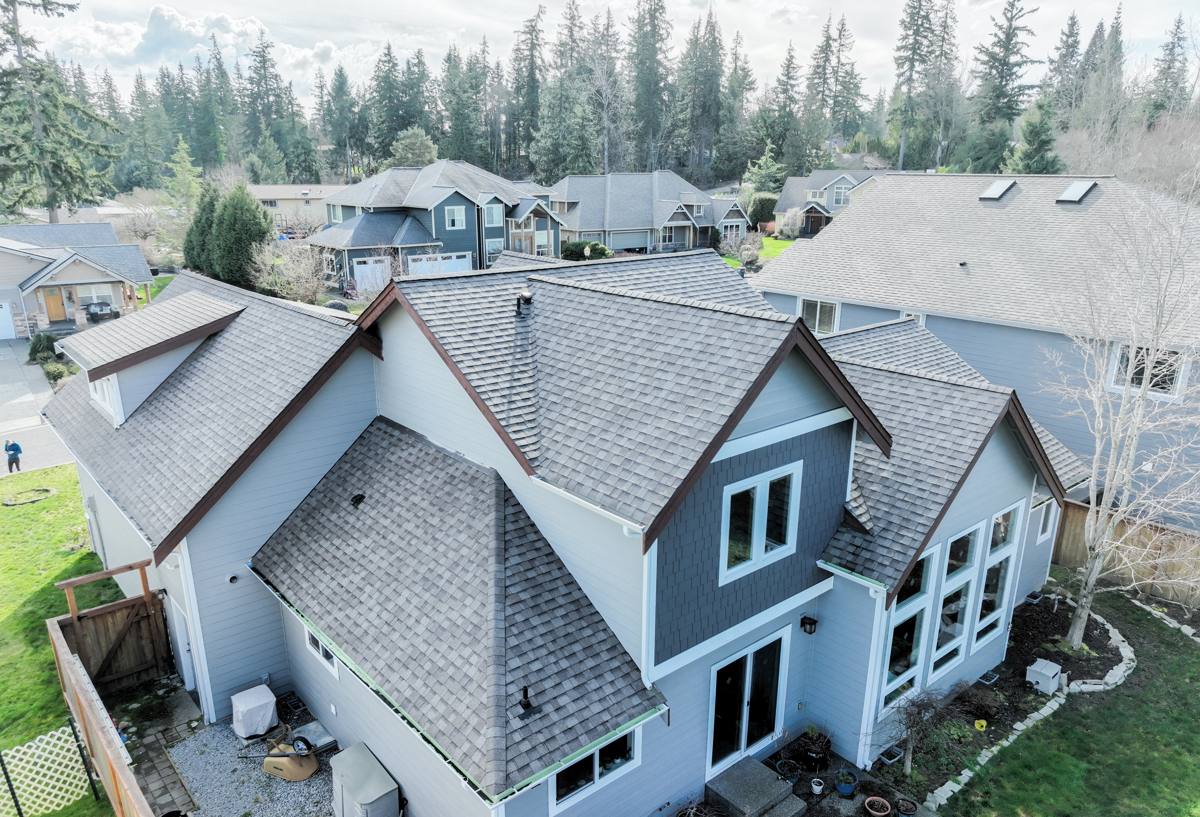
What This Climate Does to Siding Over Time
Homeowners in Aldergrove don't usually see siding fail all at once. It's a slow process, and by the time it's visible, the damage is often already behind the surface.
Salt Air and UV Fade
Coastal air carries fine salt particles that settle on exterior surfaces and accelerate the breakdown of paint film. Cheaper claddings and field-applied paint jobs chalk, fade, and lose adhesion faster near the coast than they would further inland. Color consistency becomes a real problem within a handful of years.
Driving Rain and Wind-Driven Moisture
This isn't gentle, straight-down rain. Storms here regularly push rain sideways into wall assemblies, which means siding has to shed water at the surface and the wall behind it has to be able to drain and dry if any moisture gets past the cladding. A siding job that only looks at the face material and ignores what's happening behind it is an incomplete job.
Moss, Algae, and Prolonged Dampness
Long wet seasons with limited direct sun on north- and shade-facing walls create ideal conditions for moss and algae growth. Wood-based products are especially vulnerable — moss holds moisture against the surface, which speeds up rot in anything with wood fiber content. Even non-organic products need the right finish and enough of a gap behind them to dry out between rain events.
Why We Use James Hardie Fiber Cement Here
James Hardie fiber cement is cement, sand, and cellulose fiber — there's no wood fiber for moisture to feed on and no wood substrate to rot. That's the core reason it holds up better than wood-based or engineered-wood siding products in a climate like this one. A few specifics that matter for Aldergrove-area homes:
- Non-combustible core — relevant given increasingly active regional wildfire seasons and smoke events in the Pacific Northwest.
- ColorPlus factory finish — baked-on, not field-sprayed, which holds color and resists the UV and salt exposure that breaks down site-applied paint faster.
- Engineered for the climate zone — Hardie's HZ product line is formulated for moisture and freeze-thaw conditions rather than being a one-size-fits-all product.
- Doesn't rot or delaminate — no organic material for moss, algae, or trapped moisture to break down over time.
- Backed by a strong, transferable warranty — meaningful for resale, since siding age and condition come up in almost every home inspection.
We don't install LP SmartSide, vinyl, Cemplank, Allura, or bare cedar or spruce siding. That's not a knock on every use case for those products — it's that after years of doing this work in exactly this climate, fiber cement from Hardie is what we're willing to warranty our labor against.
What a Correct Installation Actually Involves
The siding itself is only part of the system. Most premature siding failures we get called out to inspect trace back to what's behind the panels, not the panels themselves.
Water Management Behind the Cladding
Correct installation starts with a properly lapped water-resistive barrier, careful flashing at every window, door, and roofline intersection, and a drainage gap — a rainscreen — between the barrier and the siding. That gap lets any moisture that does get past the cladding drain out and lets the wall assembly dry instead of staying damp. In a region that sees as much wind-driven rain as this one, skipping or shortcutting that gap is one of the most common — and most expensive to fix later — mistakes we see in siding jobs done by crews unfamiliar with coastal conditions.
Fastening and Clearances
Hardie siding has specific fastening patterns, nail or screw types, and minimum clearances from grade, roof lines, decks, and other siding terminations. Cut edges need to be sealed and primed before installation, not left raw. Butt joints need to be caulked correctly or, in some cases, flashed rather than caulked. None of this is optional if you want the product to perform the way it's rated to.
Trim, Caulking, and Finish Details
The visible finish work — corner trim, window and door casing, caulking lines — is where a rushed job shows up fastest. Poor caulking joints are one of the first things to fail in a high-rain climate, and they're one of the easiest things to get right if the crew isn't racing through the punch list.
How Climate Stress Maps to Installation Details
| Climate Stress | What Fails If Ignored | Correct Response |
|---|---|---|
| Wind-driven rain | Water intrusion behind siding, hidden sheathing rot | Proper WRB lapping, flashing, and a functioning rainscreen gap |
| Salt air and UV | Fading, chalking, paint film breakdown | Factory-baked ColorPlus finish rather than field-applied paint |
| Extended moss/algae season | Trapped moisture, accelerated rot on organic materials | Non-organic fiber cement plus a drainage gap that allows drying |
| Freeze-thaw swings | Cracking, joint failure in rigid or poorly fastened materials | Climate-engineered HZ product line and correct fastening tolerances |
Our Installation Process
- On-site assessment — we look at your current siding, wall assembly, and any problem areas (north-facing walls, shaded sections, deck and roof intersections) before quoting anything.
- Tear-off and inspection — removing the old siding lets us check the sheathing underneath for rot or hidden moisture damage before it's covered back up.
- Repair as needed — any damaged sheathing or framing gets addressed before new siding goes on. Covering up a problem is not an option.
- Water-resistive barrier and rainscreen — installed and lapped correctly, with a drainage gap sized for this climate.
- Flashing at every penetration — windows, doors, roof lines, and any other wall penetration get proper flashing before siding goes over it.
- Hardie panel or lap siding installation — installed to manufacturer fastening specs, with sealed cut edges and correct clearances.
- Trim, caulking, and finish work — the detail work that determines how the job looks and holds up for the next 20-plus years.
- Final walkthrough and cleanup — nothing left behind, and we walk the job with you before calling it done.
What Affects the Cost of a Siding Installation
Every home is different, so we won't quote a number without seeing the job — but these are the main factors that move the price up or down:
| Factor | Why It Matters |
|---|---|
| Home size and wall complexity | More square footage and more corners, gables, and dormers mean more material and labor |
| Tear-off vs. new construction | Removing and disposing of existing siding adds time compared to installing over new sheathing |
| Sheathing condition | Rot or moisture damage found during tear-off requires repair before new siding can go on |
| Siding profile chosen | Lap siding, board-and-batten, and panel systems each involve different labor and trim requirements |
| Trim and detail work | Windows, corners, and architectural features all add finish labor |
| Access and site conditions | Steep lots, tight setbacks, or multi-story sections affect staging and labor time |
Why Hiring a Crew That Already Works This Area Matters
Aldergrove sits right along the corridor we already serve out of Lynden, and homes in this part of the Fraser Valley and Whatcom County share the same weather pattern — the same salt air, the same driving rain off the coast, the same long moss season. A crew that works this specific stretch regularly isn't guessing at how to detail a rainscreen gap or where moisture tends to collect on a north wall; they've already seen it on the last several jobs down the road.
There's also a practical logistics side to it. A contractor based nearby can schedule tear-off and installation around actual weather windows instead of losing days to a long commute, and can respond quickly if something needs a second look after the job is done. For a job that's fully exposed to the elements during construction, that local proximity isn't a convenience — it's part of doing the work correctly.
Before You Hire: A Practical Checklist
- Ask what's included in the wall assembly — water-resistive barrier, flashing details, and whether a rainscreen gap is part of the installation.
- Ask what happens if rot or moisture damage is found in the sheathing during tear-off, and how that's priced.
- Confirm which siding product and product line is being installed, not just the brand name.
- Ask how cut edges and joints are sealed, and how corners and trim are detailed.
- Get a clear understanding of the warranty — on the material, the factory finish, and the installation labor separately.
- Ask how long the crew has been installing siding in this specific climate, not just siding in general.
Signs Your Current Siding Needs Attention
If you're not sure whether it's time to replace, a few things worth checking: soft or spongy spots when you press on the siding, visible cracking or buckling, paint that's chalking or peeling faster than it should, persistent moss or algae staining that comes back soon after cleaning, or gaps opening up at seams and trim. Any of these can mean moisture has already worked its way behind the surface, which is worth having looked at before it turns into a larger repair.
If you're weighing a siding project for a home in the Aldergrove area, we're happy to take a look and talk through what your specific walls need — no pressure, no obligation. Use the form below to request a free estimate.