 Lynden Siding
 Building New at Wiser Lake? Windows Are One Detail You Only Get to Do Once
New-construction window installation is a different job than replacing a window in an existing home. On a new build, the window goes into a bare rough opening before the siding closes everything up. There's no old frame to work around, but there's also no second chance once the wall is finished — whatever water-management details go in behind the trim stay hidden until they either hold up for decades or fail quietly for years before anyone notices a stain or soft spot.
For homes going up around Wiser Lake, that first-time-right requirement matters more than it does on a dry, exposed lot in town. Lake-adjacent building sites in this part of Whatcom County carry more ambient moisture, more shade from mature trees, and a longer wet season than a typical in-town Lynden lot. We install new-construction windows on homes in this area on the understanding that the flashing and sealing work has to be right the day it's covered up — not "probably fine" right.
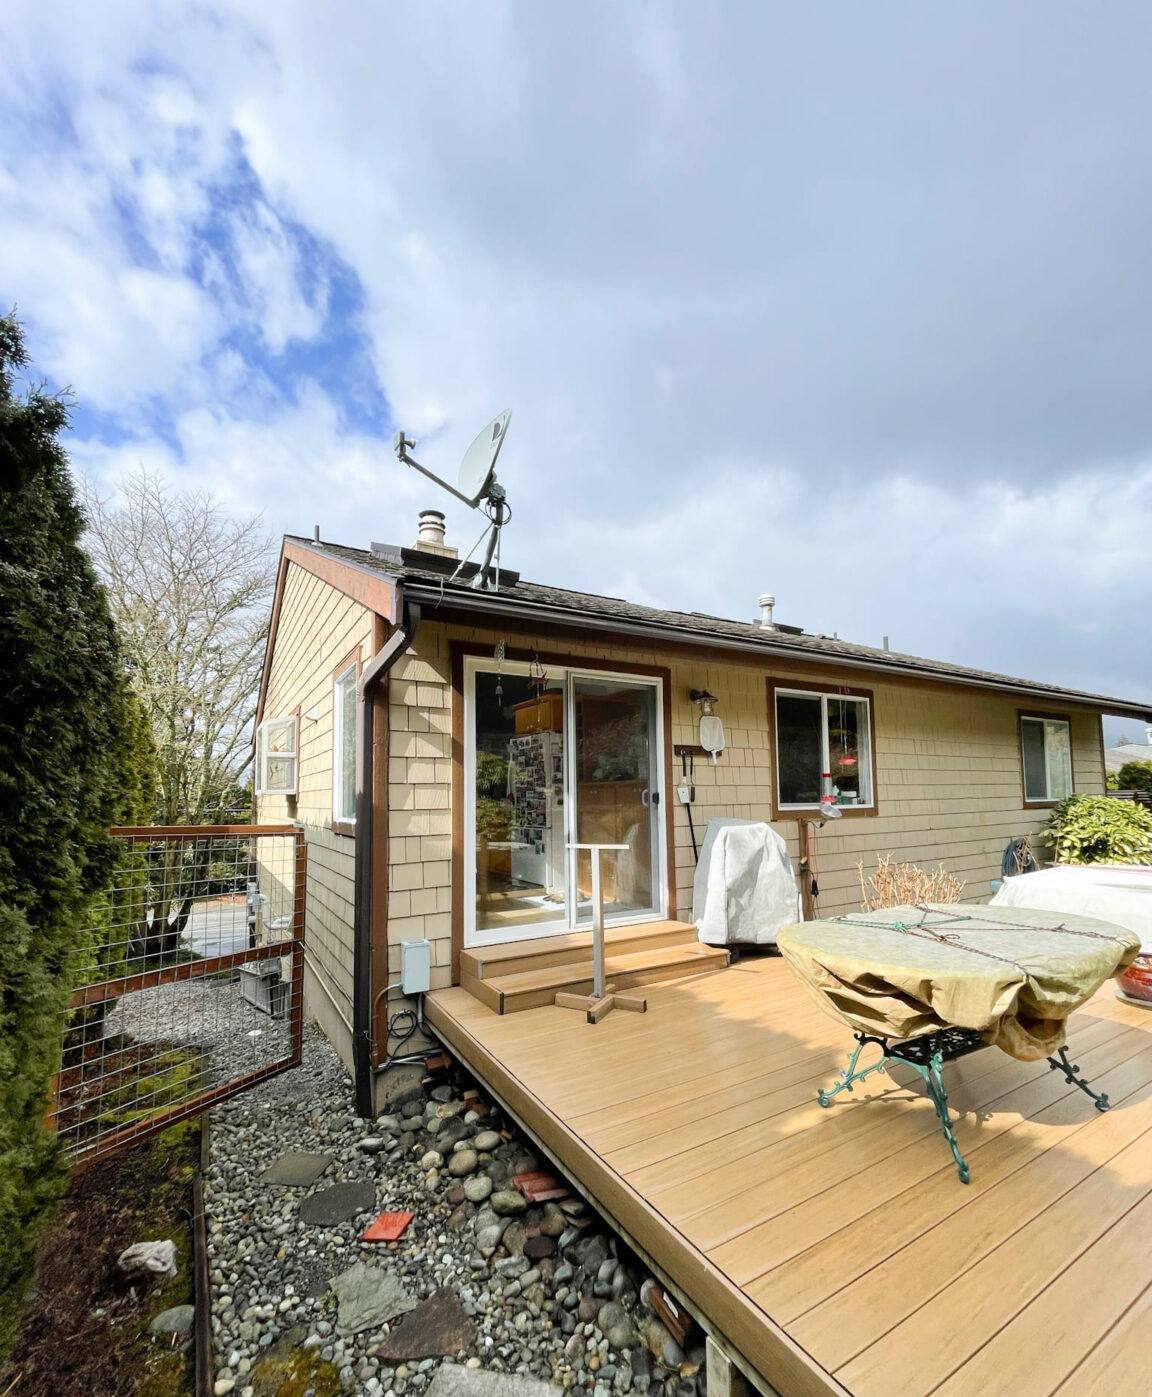
What Wiser Lake's Setting Adds to the Job
Moisture from the water and the tree cover
Homes built near or facing Wiser Lake sit in a slightly damper microclimate than a lot several miles away with open sun exposure. Standing water and surrounding tree canopy keep relative humidity higher around the building envelope for more of the year. That doesn't change the physics of window installation, but it does shrink the margin for a sloppy flashing lap or a sealant joint that doesn't quite make full contact.
Wind-driven rain off open water
Whatcom County's weather brings plenty of straight-down rain, but a lot exposed to open water or fewer windbreaks also catches more wind-driven rain hitting the wall at an angle. That's exactly the condition that finds gaps at a sill or head flashing that would never leak in a calm rain. New-construction windows near Wiser Lake need flashing details that assume the rain won't always be falling straight down.
A long moss season shortens the margin for error
Shaded, moisture-heavy sites around the lake grow moss and algae on north-facing walls, soffits, and trim for a good chunk of the year. That growth holds moisture against the wall longer than a dry, sun-exposed elevation would. Combined with the humidity and rain exposure, it means any small installation shortcut at a Wiser Lake home has less time to be forgiven before it turns into a moisture problem.
What a Correct New-Construction Window Install Actually Involves
Rough opening preparation
Before a window ever goes in, the rough opening needs to be square, plumb, and the right dimension for the unit — not just "close enough" and shimmed into submission later. We check this against the window's actual specs rather than assuming the framing crew hit the plan exactly.
Weather-resistive barrier and flashing integration
This is the step that decides whether a window stays dry for 30 years or leaks in five. Sill flashing goes in first, lapped so any water that gets past the window sheds out and down, not into the wall cavity. The window's nailing flange integrates with the house wrap in the correct shingle-style order — side flashing over the sill flashing, head flashing over the side flashing and under the house wrap above it. Get that lap order backwards anywhere on the opening and you've built a path for water to travel behind the siding instead of off of it.
Setting, shimming, and fastening
The unit gets set level, plumb, and square, shimmed at the manufacturer's specified points so the frame doesn't bow when fasteners are driven, and fastened through the flange per the manufacturer's schedule — not just at the corners.
Sealant in the right places, not everywhere
New-construction windows have specific weep holes and drainage paths designed to let any incidental water out. Sealing those shut "to be safe" is one of the more common mistakes on a job site — it turns a self-draining window into one that traps water. Sealant belongs at the specific joints the manufacturer calls for, not as a blanket coating.
Insulating the gap and finishing the interior
The gap between the rough opening and the window frame gets filled with a low-expansion foam or backer rod and sealant — enough to stop air movement without bowing the frame — followed by interior air sealing before trim goes on.
Choosing the Right Frame Material for a Lake-Adjacent Site
Frame material matters more on a humid, shaded site than it does on a dry in-town lot. Here's how the common options stack up for a Wiser Lake build:
| Frame Material | Moisture & Humidity Behavior | Maintenance | General Cost Tier |
|---|---|---|---|
| Vinyl | Doesn't absorb moisture or rot; performs well in humid, shaded conditions | Low — occasional cleaning | Lower |
| Fiberglass | Very stable in temperature and moisture swings; minimal expansion/contraction | Low | Mid to upper |
| Wood interior / clad exterior | Good look, but any breach in the exterior cladding exposes wood to moisture over time | Higher — finish and joints need periodic attention | Upper |
| Aluminum-clad | Durable exterior, but more prone to condensation on the frame itself in humid conditions without a thermal break | Low exterior, watch for interior condensation | Upper |
None of these are wrong choices — the right one depends on budget, the home's design, and how much upkeep the homeowner wants to take on. Given how much moisture a Wiser Lake site sees over a year, we'll walk through the trade-offs honestly rather than steer everyone toward the same product.
How We Work With Your Builder or General Contractor
On a new build, window installation has to land at the right point in the schedule — after the weather-resistive barrier is on and the openings are framed correctly, but before siding closes the wall. We coordinate directly with the builder or GC's schedule rather than working off a generic install sheet, because every framing crew details rough openings slightly differently.
Before we install, we check the rough openings against actual window dimensions, confirm the WRB is lapped correctly at each opening, and flag anything that needs to be corrected before we proceed — catching a framing issue at that stage is far cheaper than catching it after the siding is on. Once windows are set, we document flashing details before they're covered, so there's a record of how each opening was built.
Mistakes We Watch For on New Construction Sites
Most water problems in new-construction windows trace back to a handful of repeatable errors — not bad products, but installation shortcuts. Our standard is built around avoiding these:
- Flashing laps installed in the wrong order, so water runs behind a layer instead of over it
- Sealant used as the primary water barrier instead of correct flashing and drainage
- Weep holes or drainage paths sealed shut
- Missing or improperly formed sill pan flashing at the base of the opening
- Fasteners over-driven, crushing the vinyl or composite flange and distorting the frame
- Insulating foam gaps skipped or over-filled, causing frame bowing
- Rough openings that are out of square, forcing the window to be racked to fit
Living With Windows Near Wiser Lake: What to Expect After Installation
A correctly installed window near the lake still lives in a damp, shaded environment for part of the year, which means a little routine attention keeps things looking and performing the way they should:
- Rinse pollen, moss spores, and organic debris off sills and trim a couple of times a year, especially on shaded or north-facing walls
- Check that exterior caulk joints at trim edges stay intact — sun and moisture cycles will eventually break down any sealant
- Keep gutters and downspouts clear so runoff isn't sheeting directly down the wall past window heads
- Trim back vegetation that keeps a wall or window shaded and damp longer than necessary
- Watch for soft trim or peeling paint near a sill — an early sign worth checking before it becomes a bigger repair
What Drives the Cost of New-Construction Window Installation
| Factor | Why It Matters |
|---|---|
| Number and size of openings | More windows and larger units mean more flashing detail work and material |
| Frame material and glazing package | Vinyl, fiberglass, and clad options carry different unit costs; upgraded glass packages add cost |
| Site access | Lake-adjacent lots with tighter access or steeper grades can slow material staging and setup |
| Timing with the build schedule | Coordinating tightly with a builder's framing timeline keeps the job efficient; delays or rework add cost |
| Extent of flashing and weatherproofing detail | A humid, rain-exposed site like Wiser Lake often calls for more thorough sill pan and flashing work than a dry, sheltered lot |
A Quick Checklist Before Your Windows Go In
- Rough openings measured and confirmed against the actual window specs, not just the plans
- Weather-resistive barrier installed and lapped correctly before window flanges are set
- Sill pan flashing in place at every opening, not just the ones on the weather side
- Manufacturer's fastening schedule followed, not just "a screw at each corner"
- Weep holes and drainage paths left open and unobstructed
- Interior insulation gap filled without over-packing or bowing the frame
If you're building near Wiser Lake and want the window installation handled by a crew that already understands what this stretch of Whatcom County's weather does to a new home, we're happy to come look at your plans or framing and put together a straightforward, no-pressure estimate. There's a form below whenever you're ready.