 Lynden Siding
 Windows That Actually Hold Up in Aldergrove and Lynden
Homes along the Lynden–Aldergrove corridor sit in one of the wettest stretches of the Pacific Northwest. Between the Nooksack Valley's fog, the driving rain that blows in off the Strait, and a moss season that can run eight or nine months out of the year, windows here take a beating most manufacturers never test for. Add in salt-carrying air on windy days and the freeze-thaw cycles that hit this part of Whatcom County and southern British Columbia every winter, and you've got a recipe for failed seals, rotted sills, and windows that fog up or stick within a decade of installation.
A window that's installed correctly for this climate looks almost identical to one installed carelessly — until year three or four, when the poorly-flashed one starts leaking into the wall cavity. This page covers what a correct installation actually involves for homes in and around Aldergrove, BC, why it matters more here than in drier climates, and how we approach the job.
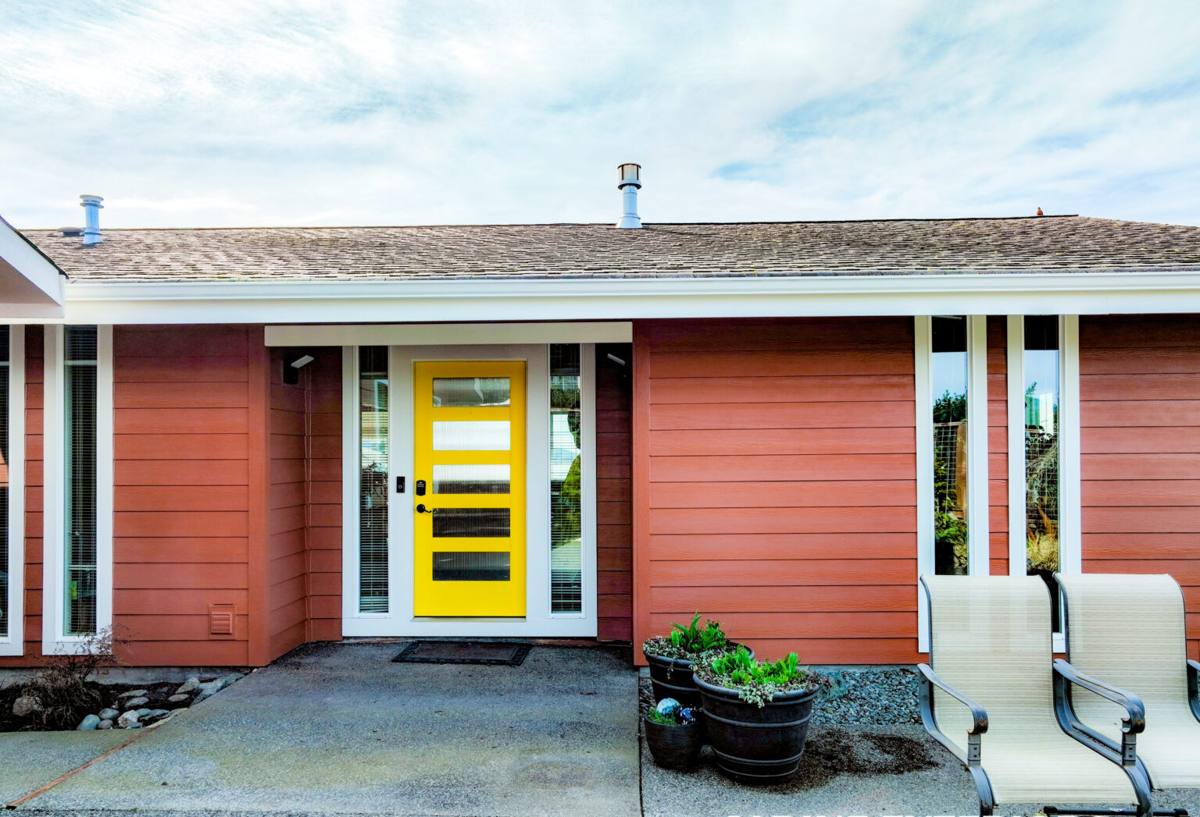
What "Correct" Window Installation Actually Involves
Window installation is often treated as a simple swap: old window out, new window in. That approach works fine in a dry climate. In a region that gets sustained wind-driven rain for months at a stretch, the details around the window matter as much as the window itself.
Flashing and Water Management
The single biggest factor in whether a window leaks in five years is how the flashing was integrated with the house wrap or building paper. Water needs a continuous path down and out, never trapped behind the siding. This means proper sill pan flashing, correctly lapped head flashing, and sealing that ties into the existing weather-resistive barrier rather than just caulking over the gap. On homes with cedar or fiber cement siding — common throughout this area — the flashing detail has to be planned before the old window even comes out.
Air Sealing and Insulation
Gaps around the window frame are the most common source of drafts and condensation complaints. Low-expansion foam or backer rod and sealant, applied correctly around the full perimeter, keeps humid indoor air from reaching the cold glass edge — which is what causes the black mold staining people often see on window sills in this climate.
Structural Fit and Shimming
A window that isn't shimmed square will operate stiffly, seal poorly, and put uneven stress on the frame over time. This is a slower, more careful step than most homeowners realize, and it's where rushed installs cut corners.
Signs Your Current Windows Are Failing
Because window failure is gradual, most homeowners don't notice until there's visible damage. Watch for these:
- Fogging or moisture between the panes of a double-pane window — the seal has failed and the gas fill is gone
- Soft or discolored wood at the sill or bottom corners of the frame
- Moss or dark streaking on the exterior trim below the window
- Drafts you can feel with a hand near the frame on a windy day
- Windows that are difficult to open, close, or lock
- Visible daylight or gaps around the frame from inside
- A noticeable jump in heating costs without other explanation
Our Window Installation Process
We keep the process straightforward and try to minimize the number of days your home is open to the weather.
1. On-Site Assessment
We look at the existing window, the flashing and sheathing condition behind it, and the siding type, then talk through options and give you a straightforward estimate — no pressure, no upsell script.
2. Removal and Inspection
Once the old window is out, we can actually see the condition of the framing and sheathing. If there's rot or prior water damage, we address it before anything new goes in — installing a new window over damaged framing just hides the problem for another few years.
3. Flashing and Installation
We install sill pan flashing, set the new window level and square, shim as needed, and integrate the flashing with the existing weather barrier before siding is reinstalled around it.
4. Sealing, Trim, and Cleanup
Interior and exterior trim goes back on, sealant is applied at the appropriate joints (not everywhere — over-sealing can trap moisture rather than shed it), and the site is cleaned up before we leave.
Choosing the Right Window for This Climate
There's no single "best" window — the right choice depends on your siding, your budget, and how much upkeep you want to take on. Here's how the common options compare for a wet, moss-prone climate like this one:
| Frame Material | Moisture Behavior | Maintenance | Typical Fit |
|---|---|---|---|
| Vinyl | Doesn't rot or corrode; handles constant moisture well | Low — occasional cleaning | Most homes, best value |
| Fiberglass | Very stable, resists warping in temperature swings | Low | Homes wanting a slimmer profile or paintable frame |
| Wood | Attractive but vulnerable to rot if seals fail | High — regular painting/sealing required | Older or historic-style homes where appearance is a priority |
| Wood-clad (wood interior, metal/vinyl exterior) | Better than solid wood, but cladding seams are a failure point if not detailed carefully | Moderate | Homes wanting a wood interior look with less exterior upkeep |
For most homes in this area we lean toward vinyl or fiberglass on the exterior face specifically because they don't depend on a paint film to stay watertight — in a climate where it rains this often, that's one less maintenance task working against you.
Full-Frame Replacement vs. Insert Replacement
There are two ways to replace a window, and the right one depends on the condition of your existing frame.
Insert (pocket) replacement fits a new window inside the existing frame. It's faster and less invasive, but it only makes sense if the existing frame is dry and sound — installing an insert into a frame with hidden rot just seals the problem inside the wall.
Full-frame replacement removes the window down to the rough opening, which lets us inspect and repair the sheathing and flashing underneath. It costs more and takes longer, but it's the only option once there's any sign of water intrusion, and it's the more common choice for older homes in this area given how many decades of rain they've already been exposed to.
Why a Crew That Already Works in Aldergrove, BC Matters
Aldergrove sits right against the border, and homes here have their own quirks worth knowing before a crew shows up: older housing stock with original wood-frame windows, siding styles that differ block to block, and a climate that's marginally wetter and mossier than areas further from the water. A crew that regularly works this corridor also understands the practical side of working across the border — permitting and inspection processes differ between British Columbia and Whatcom County, and scheduling, material sourcing, and even fastener and code requirements aren't identical on both sides. That's not a detail you want your contractor figuring out for the first time on your job.
We also know which failure patterns show up repeatedly in this specific area — where moss tends to build up fastest, which siding transitions are prone to leaks, and which older window brands from the area's original construction era are now hard to source parts for. That local pattern recognition shortens the assessment phase and helps us catch problems before they're visible from the outside.
What Affects the Cost of a Window Installation
Every job is different, but the main cost drivers are consistent. We'll walk through these specifically during your estimate:
| Factor | Why It Matters |
|---|---|
| Insert vs. full-frame | Full-frame costs more but is often required once rot or water damage is present |
| Frame material | Vinyl is typically the most budget-friendly; wood and wood-clad cost more |
| Number of windows | Doing several at once usually lowers the per-window cost |
| Existing damage | Rotted sheathing or framing adds repair time before the new window goes in |
| Siding type | Fiber cement, stucco, and lap siding each require different removal and re-trim work |
| Glass package | Double-pane vs. triple-pane, and low-E coatings, affect both price and performance |
Maintenance After Installation
A correctly installed window still benefits from basic upkeep, especially in a climate this wet:
- Rinse exterior frames periodically to keep moss and grime from building up in the tracks and weep holes
- Check that weep holes at the bottom of the frame stay clear so water can drain out
- Inspect exterior caulking annually and touch up any cracked or separated sealant
- Keep gutters and downspouts clear so water isn't sheeting down over windows below
If you're noticing drafts, moisture, or damage around your windows — or you're planning ahead for a remodel — we're happy to take a look and give you an honest read on what's actually needed. Fill out the form below for a free, no-pressure estimate.