 Lynden Siding
 New-Construction Windows in Everson: A Different Job Than a Retrofit
When a home in Everson is still framed and wrapped, the windows go in before the siding, before the trim, and often before the roof is fully dried in. That sequencing matters. New-construction windows come with a nailing fin that gets integrated directly into the weather-resistive barrier (WRB) and flashing system, which is a very different install than popping a replacement window into an existing opening. Get this stage wrong and the mistake gets covered up by siding for the next thirty years. Get it right, and the window becomes part of a continuous drainage plane that keeps water moving away from the framing, not into it.
We work new-construction and remodel projects throughout Whatcom County, and Everson builds are a regular part of that work. Coordinating with the general contractor's schedule, showing up when the house is actually ready for windows, and installing to a standard that passes inspection the first time is most of what separates a smooth build from a delayed one.
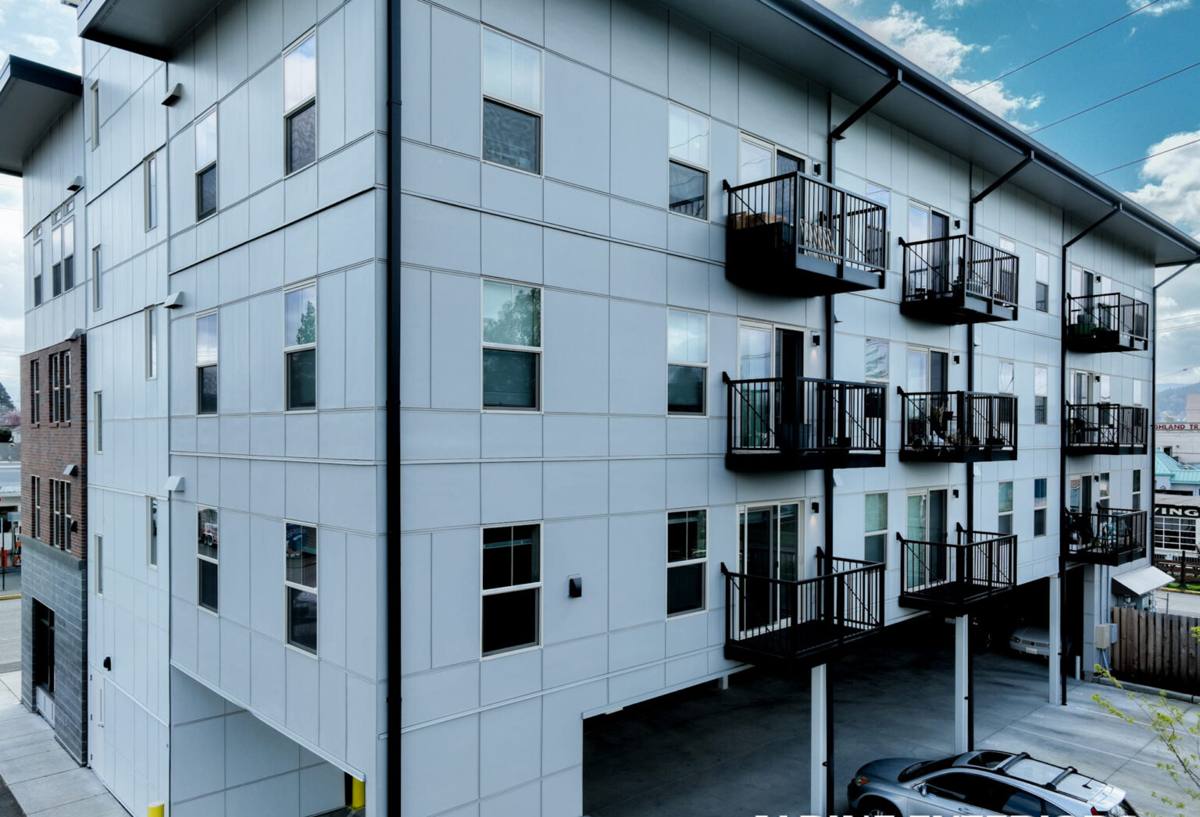
What Everson's Climate Asks of a Window Install
Whatcom County sits close enough to the Salish Sea and the open water of the Strait of Georgia that even inland communities like Everson see a lot of moisture-laden marine air move through, on top of the steady fall-through-spring rain that defines this part of Washington. Add driving rain events where wind pushes water sideways into wall assemblies, and a long stretch of the year when surfaces stay damp enough for moss and mildew to take hold on shaded, north-facing elevations, and you've got a climate that punishes any shortcut in window flashing or sealant work.
For a new build, this means three things get real attention on every install:
- Sill pan flashing under every window opening, sloped to shed any water that gets past the glazing back to the exterior — not into the wall cavity.
- Head flashing and WRB integration that shingles correctly, so water draining down the wall sheds over the window rather than behind it.
- Sealant and backer rod placement that allows the assembly to drain and dry, instead of trapping moisture behind a bead of caulk that looks tidy on install day but fails in year three.
None of this is exotic. It's standard best-practice window flashing. But it only works if it's done in the right order, and that's where a lot of problems on new builds actually start.
What a Correct New-Construction Install Actually Involves
The Flashing Sequence
New-construction windows rely on a "shingle-style" layering: sill pan flashing goes down first, the window's nailing fin sits on top of it, side flashing tapes over the fin, and then the head flashing and WRB lap over everything above. Done out of order — say, WRB taped over the fin before the side flashing goes on — water finds the gap. This sequence is the single biggest quality difference between a rushed install and a correct one, and it's invisible once the siding goes up.
Rough Opening Tolerances
Rough openings need to be square, plumb, and sized with the right gap around the window unit — too tight and the frame can bow under fastening; too loose and you're relying on shims and sealant to do work they shouldn't be doing. We check this before the window ever goes in, not after.
Fastening and Shimming
Nailing fins get fastened per the manufacturer's schedule, and the frame gets shimmed at the right points so it doesn't rack out of square once trim and siding load onto it. A window that's slightly out of square will bind, won't seal against weatherstripping correctly, and shows up as a draft or a sticking sash years later.
Sealant Order
Sealant goes at the head and jambs on the exterior, but the sill is typically left open or fitted with weep provisions so any water that does get in has somewhere to go. Sealing a sill completely shut is a common mistake that traps water instead of shedding it.
Choosing the Right Window for a Whatcom County New Build
New construction gives you a real choice of frame material and glazing package, since you're not constrained by an existing opening. For Everson's wet, moderate climate, the trade-offs generally come down to this:
| Frame Material | Moisture Behavior | Maintenance | Typical Use |
|---|---|---|---|
| Vinyl | Won't rot; performs well in wet climates | Low — no painting or sealing needed | Most common choice for new-construction builds |
| Fiberglass | Very stable, minimal expansion/contraction | Low | Larger openings, higher-performance builds |
| Wood-clad | Good if cladding and flashing details are correct; interior wood needs protection from condensation | Higher — exterior clad is low-maintenance, interior wood may need periodic finish care | Homes where a wood interior look is a priority |
| Aluminum | Durable frame but a poor thermal performer without a thermal break | Low | Less common in residential new builds here; better suited to commercial applications |
We don't push one material on every job — it depends on the home's design, budget, and how the builder is detailing the wall assembly. What we do insist on is a window rated for the wind-driven rain and air infiltration this region actually sees, and installed to match that rating. A great window installed with a shortcut flashing sequence performs worse than a mid-grade window installed correctly.
Glazing for This Climate
Double-pane, low-E glazing with an appropriate U-factor is standard for Washington's energy code in this climate zone, and for new construction that's the baseline, not an upgrade. Argon-filled units are common and worth the modest cost difference for the added thermal performance in a house that's going to be lived in through Whatcom County winters.
Working With Your Builder or GC
New-construction window install is a scheduling job as much as a trade job. We coordinate directly with the general contractor so windows go in at the right point — after the WRB is on and before siding starts — and we don't hold up the framing crew or the siding crew on either end. On a lot of Everson builds we're one piece of a tight sequence: framer, window crew, siding crew, trim carpenter, each waiting on the one before. Showing up on schedule, with the right units on the truck, matters as much as the install quality itself.
We also flag issues early rather than installing around them. If a rough opening is out of square or a WRB detail looks off, that's a conversation with the builder before the window goes in, not a problem discovered during a final walkthrough.
Code and Performance Considerations
New-construction windows in Whatcom County need to meet Washington State Energy Code requirements for U-factor and, in bedrooms, egress dimensions for safe exit. We build these requirements into the window schedule from the start, not as a last-minute correction. A few specifics worth knowing:
- Bedroom windows need to meet minimum egress opening size and sill height — this affects which window styles work in which rooms.
- Energy code sets a maximum U-factor for the glazing package; this is a floor, not a target to just barely hit.
- Wind-driven rain resistance is rated separately from thermal performance — a window can meet energy code and still leak in a storm if it's not rated and installed for water resistance too.
Our Process
- Plan review. We look at the window schedule and rough opening sizes before the house is even framed, so there are no surprises on delivery day.
- Ordering. Units are ordered to match the approved sizes, styles, and glazing package, with lead times built into the builder's schedule.
- Site coordination. We confirm the WRB is on and openings are ready before our crew shows up.
- Install. Sill pan, fin, side flashing, head flashing, and sealant — installed in the correct order, with fastening and shimming checked as we go.
- Walkthrough. We check every unit operates smoothly, seals correctly, and is ready for siding and trim to close in around it.
Why Hire a Crew That Already Works in Everson
A window install crew that regularly works Whatcom County new builds already knows the inspectors, the typical framing practices local builders use, and the weather patterns that make correct flashing non-negotiable here. That familiarity shows up in small ways — knowing which WRB products are common on local jobs and how they integrate with different window flashing tapes, knowing what an inspector will want to see at rough-in, knowing how to schedule around a wet week without falling behind. It's less about any single trick and more about not having to relearn the basics of building in this climate on your project.
Maintenance Checklist for New Windows
Once your Everson home is finished, a little seasonal attention keeps new windows performing the way they were installed to:
- Check exterior caulk lines each fall before the wet season sets in, and re-seal any cracked or separated sealant.
- Clear debris from window sills and any weep openings so water can drain as designed.
- Watch for moss or mildew buildup on shaded trim and casing, especially on north-facing walls, and clean it before it holds moisture against the wood or siding.
- Test operation on all opening sashes once or twice a year — a sash that's sticking may signal a settling or shimming issue worth checking early.
- Keep an eye on interior sills for condensation in winter, which can point to a ventilation or humidity issue inside the home rather than a window defect.
If you're building new in Everson and want a window installer who'll coordinate directly with your builder and stand behind the flashing details that actually keep water out, we're glad to take a look at your plans. Reach out for a free, no-pressure estimate using the form below.