 Lynden Siding
 Building New in Nooksack? Your Windows Only Get One Shot at This
When you're building new in the Nooksack area, the windows go in before the siding closes everything up — which means whatever flashing and sealing decisions get made during that install are hidden for the life of the house. There's no do-over once trim and siding cover the rough opening. That's a different kind of pressure than a replacement job, where a bad install at least stays visible and fixable. On a new build, it has to be right the first time.
Whatcom County's climate doesn't make that easier. Homes around Lynden and out toward Nooksack sit under a steady diet of driving rain much of the year, carry a hint of salt air off the Sound on the wrong wind, and spend a long stretch of fall through spring wet enough that moss and algae get a foothold on anything that stays damp. None of that is exotic — it's just the Pacific Northwest doing what it does — but it means a window install that would pass fine in a drier climate can leak, fog, or stain within a few winters here if the water management wasn't done correctly.
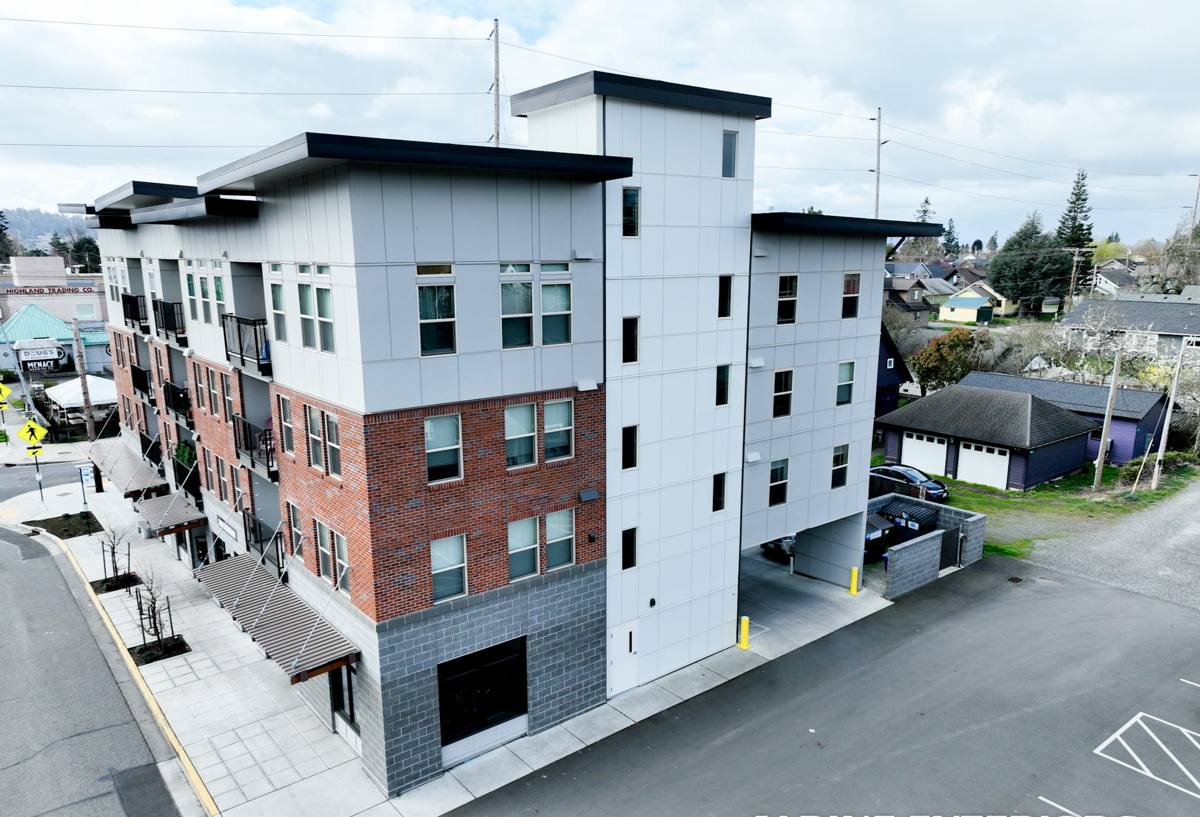
New-Construction Windows Are Not the Same Job as a Replacement
It's worth being clear about this up front, because a lot of homeowners assume "installing a window" is one skill. It isn't, really. Replacement windows go into an existing opening, often using the old frame as a pocket — the water management is largely already built into the wall. New-construction windows are different: they're nail-fin units that get integrated directly into the wall's weather-resistive barrier (WRB), sill flashing, and framing before any siding goes on. The window itself becomes part of the wall's drainage plane, not just something dropped into a hole in it.
Why the Install Sequence Can't Be Shortcut
New-construction installs live and die on sequence. Sill pan flashing goes in before the window. The window's nailing fin gets integrated into the housewrap in the correct shingle-lap order — top last, so water always sheds down and over the layer below it, never up and under. Skip a step or do it out of order, and you've built a small funnel that channels water straight into the wall cavity instead of away from it. It won't show up at closing. It shows up two or three winters later as a stain on the drywall below the window, and by then the fix means opening the wall.
What a Correct Nooksack New-Construction Install Involves
Rough Opening Prep
Before a window ever gets set, the rough opening needs to be square, plumb, and sized correctly — typically with a consistent shim gap around the unit rather than a tight, forced fit. A window forced into an out-of-square opening can bow at the frame, which throws off the reveal, strains the hardware, and creates uneven gaps that are hard to seal properly no matter how good the flashing tape is.
Sill Pan and Flashing Sequence
A sloped sill pan with end dams goes in first, so any water that ever gets past the window — through a failed seal, wind-driven rain, or just condensation — has somewhere to go besides into the framing. From there, flashing tape and housewrap integrate around the nailing fin in a strict shingle-lap order: sides first, then bottom, then top, so every layer sheds water onto the one below it.
Fastening and Air Sealing
Fasteners go in at the manufacturer's specified spacing and location — not just "enough to hold it" — because uneven fastening is one of the more common causes of frame bow on new builds. On the interior side, the gap between the window frame and rough opening gets air-sealed (typically low-expansion foam or backer rod, not caulk alone), which matters for both energy code compliance and keeping warm, moist interior air from condensing against a cold frame in the winter.
Sealant — Where It Actually Belongs
Caulk has a role, but it's a secondary one. The primary water defense on a new-construction window is the mechanical flashing sequence — sill pan, tape, WRB lap order. Sealant fills the gaps that flashing doesn't cover, mainly at the exterior trim and casing. Treating caulk as the main line of defense instead of a finishing step is one of the more common shortcuts that leads to leaks down the road.
Choosing a Frame Material for Whatcom County's Weather
Frame material matters more here than it would in a drier, milder climate, because the window spends most of the year wet, humid, or both. Here's how the common options compare for a Nooksack-area new build:
| Frame Material | Moisture Tolerance | Condensation Resistance | Maintenance | Typical Lifespan |
|---|---|---|---|---|
| Vinyl | Good — won't rot; can expand/contract with temperature swings | Moderate, depends on chamber design | Low — occasional cleaning | Long, with UV-related wear over decades |
| Fiberglass | Excellent — very stable in wet/dry cycling | Good to excellent | Low | Long, holds paint/finish well if refinished |
| Wood, clad exterior | Good on the clad side; interior wood needs to stay protected | Good | Higher — clad seams and interior finish need periodic attention | Long if maintained; vulnerable if seals fail |
| Aluminum | Rot-proof but conducts cold — prone to condensation and thermal bridging | Poor unless thermally broken | Low | Long structurally, but comfort/condensation issues over time |
For most new builds in the Nooksack and Lynden area, we lean toward vinyl or fiberglass for the balance of moisture tolerance, condensation performance, and low upkeep — especially on north- and west-facing walls that see the most driving rain and the longest moss season. Wood-clad is a legitimate choice when the look calls for it, but it comes with a maintenance commitment that's worth being honest about before you commit to it.
Our Process When You're Building in Nooksack
- Plan review before framing locks in — we look at the window schedule, rough opening sizes, and egress requirements while there's still time to adjust, not after walls are up.
- Coordination with your builder or framer — timing the window install with the WRB installation so there's no gap where an open wall sits exposed to weather.
- Pre-install walkthrough — checking rough openings for square and level before we set a single window.
- Install per the sequence above — sill pans, shingle-lap flashing, correct fastening, interior air sealing.
- Documentation before it's covered — photos of flashing and sill pans before siding closes it in, useful for inspection and for your own records if a warranty question ever comes up.
- Final walkthrough — every window operates, locks, and seals correctly before we call it done.
Why a Crew That Already Works Nooksack Matters
None of the install steps above are secret. What's harder to replicate is judgment built from doing this work repeatedly in this specific climate. A crew that already works Nooksack and the broader Lynden area knows how wind-driven rain actually behaves on the open, exposed sites common out this way, understands what Whatcom County inspectors expect to see at a window rough-in, and has already worked out the scheduling handoffs with local builders and framers so a rough opening doesn't sit open and exposed longer than it needs to.
That local familiarity shows up in small decisions — which side of the house needs extra attention to sill flashing, which frame materials hold up over a long wet season without warping or fogging, how tight the coordination with the framing crew needs to be so windows go in on a dry day instead of a rushed one. It's the difference between a crew that installs windows correctly in general and one that installs them correctly for this specific stretch of Whatcom County.
Common New-Construction Window Mistakes We Watch For
- Housewrap taped in the wrong lap order, which traps water behind the flange instead of shedding it
- Missing or flat (non-sloped) sill pans that give trapped water nowhere to drain
- Relying on caulk as the primary seal instead of proper mechanical flashing
- Over-driven or unevenly spaced fasteners that bow the frame and throw off the reveal
- Rough openings that are out of square, forcing the window in and stressing the frame and hardware
- Interior gaps left unsealed, inviting condensation and higher energy bills
- Installing off a generic method instead of the specific manufacturer's instructions, which can quietly void the warranty
Cost Factors for New-Construction Window Installation
Costs on a new build vary a lot based on the home's design and the products chosen, so we won't pretend to quote a number without seeing the plans. What we can tell you is what actually drives the cost:
| Factor | Why It Matters |
|---|---|
| Frame material | Vinyl, fiberglass, wood-clad, and aluminum carry different material and labor costs, and different long-term maintenance |
| Glazing package | Double-pane vs. triple-pane, and Low-E coating options, affect both price and energy performance in our climate |
| Window count and size | More openings and larger units mean more flashing detail work, not just more glass |
| Opening complexity | Bay, bow, and custom-shaped openings take significantly more time to flash and trim correctly than standard rectangular units |
| Story height and access | Second-story and hard-to-access openings add setup time and equipment needs |
| Build-schedule coordination | Windows installed on their own trip, out of sync with framing and WRB work, usually cost more than windows installed as part of a coordinated build sequence |
As a general rule, frame material and glazing package move the price more than labor does — it's worth spending time on those two decisions before worrying about anything else.
Let's Talk About Your Build
If you're framing a new home in or around Nooksack and want windows installed the way this climate actually requires — sequenced flashing, proper air sealing, and a frame material chosen for the weather it'll sit in for decades — we're glad to walk your plans and give you a straight, no-pressure estimate. Use the form below to get started.