 Lynden Siding
 Siding Repair for Abbotsford-Area Homes
Homes on both sides of the Lynden–Abbotsford border deal with the same weather system. Wind off the water carries salt into the air, rain drives sideways for days at a time in the fall and winter, and shaded north walls stay damp long enough to grow moss well into summer. Siding here doesn't fail because it's old — it fails because water and organic growth found a way in and nobody caught it early. Whether you're just north of the border in Lynden or south of it in Abbotsford, BC, the repair approach is the same: find where the siding is actually letting water in, fix that first, and only then decide whether patch repair or a larger replacement makes sense.
We work this stretch of the Fraser Valley and Whatcom County corridor regularly, which matters more than it sounds. A crew that only shows up once knows the product. A crew that works the area every week knows which wall orientations fail first, which older siding types are giving out right now, and what a correct repair actually needs to hold up through another wet season.
Why Repairs Get Ignored Until They're Expensive
Siding damage rarely announces itself. A hairline crack near a nail, a soft spot where two boards butt together, a patch of moss creeping up from the ground — none of it looks urgent. But behind the siding, moisture is working its way into the sheathing and framing every time it rains. By the time a homeowner notices a stain on interior drywall or a soft spot when they press on the wall, the repair has usually grown from "replace a few boards" into "open the wall and check for rot." Catching it while it's still a surface problem is the difference between a modest repair bill and a much bigger one.
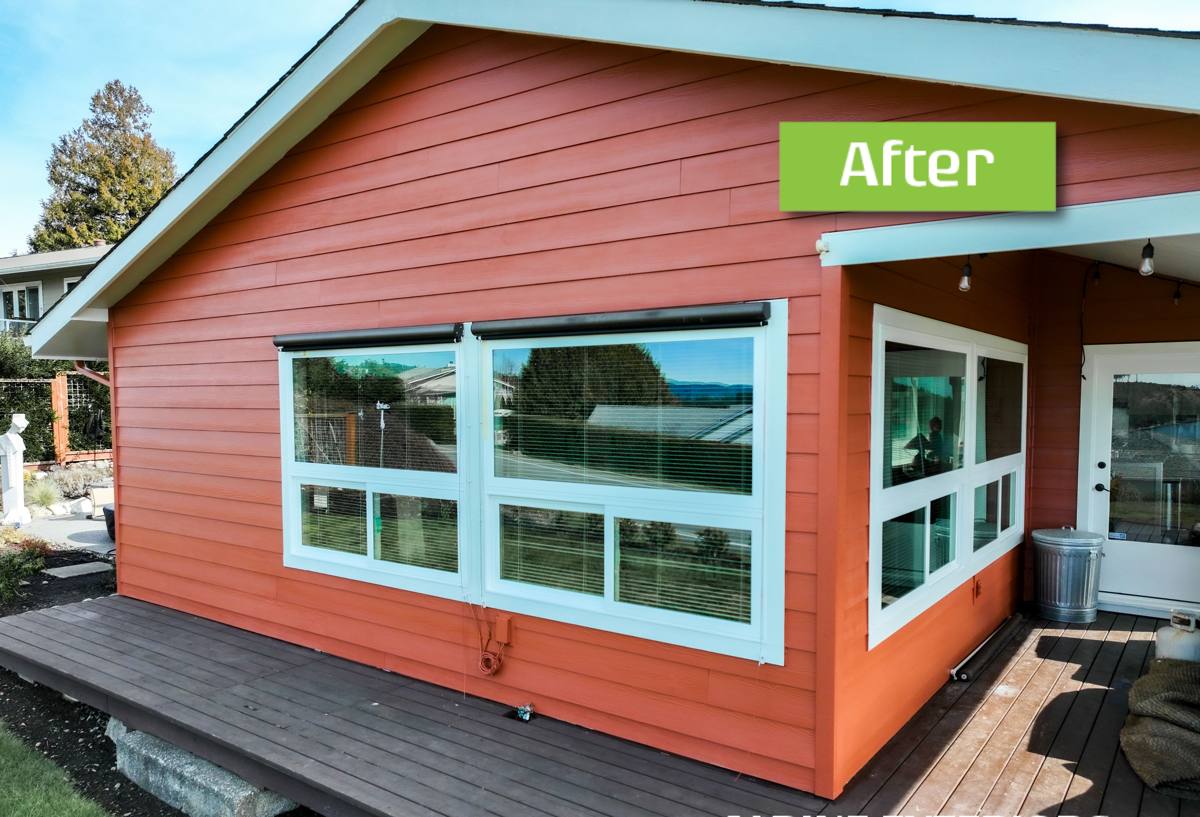
What This Climate Does to Siding
Driving Rain and Wind-Driven Moisture
Storms coming through this corridor don't just fall straight down — wind pushes rain sideways into wall assemblies, especially on west- and south-facing exposures. That means water finds its way behind loose boards, gaps at trim, and failed caulk joints that would never be a problem in a calmer climate. Siding that's slightly out of alignment, or fasteners that have backed out even a little, becomes an entry point.
Salt Air and Metal Fasteners
Proximity to Pacific air brings a low but steady dose of salt into the atmosphere, and salt accelerates corrosion on anything metal — nail heads, flashing, trim fasteners. Once a fastener corrodes, it loses grip, the board it's holding starts to move, and a gap opens that lets water behind the siding. This is one of the most common root causes we find when we're asked to "just patch" a section that keeps coming loose.
The Long Moss Season
Shaded walls, especially north- and east-facing ones under overhangs or tree cover, stay damp for months at a stretch. That's exactly what moss and algae need to establish. Once organic growth gets a foothold on siding, it holds moisture against the surface around the clock, which is worse than open rain exposure because the wall never gets a chance to dry out between storms. On wood-based or fiber-cement products without a durable factory finish, that constant dampness is what eventually breaks down the material underneath.
How We Diagnose a Repair Correctly
A repair that only addresses what's visible from the outside is a repair that comes back. Our process starts with figuring out the actual water path, not just patching the symptom.
- Visual inspection of the whole elevation — not just the spot the homeowner flagged. Damage upstream (a gutter, a flashing detail, a caulk joint) often explains damage downstream.
- Probe testing on suspect boards — gently checking for soft spots, delamination, or give that indicates moisture has already gotten in behind the surface.
- Fastener and flashing check — corroded nails, missing or misaligned flashing at windows, doors, and roof-to-wall transitions are common root causes, not just the visible crack.
- Sheathing check where warranted — if a board is soft or stained on the back side when removed, we look at what's underneath before closing anything back up.
- Moss and algae assessment — determining whether growth is surface-level (cleanable) or has been sitting long enough to have compromised the material below it.
Once we know what's actually happening, we can give a straight answer: patch these few boards, re-flash this one area, or this whole elevation has enough hidden damage that a section replacement makes more sense than another round of spot repairs.
Repair vs. Replace: How We Make the Call
| Situation | Usual Fit | Why |
|---|---|---|
| Isolated crack or impact damage, sound boards around it | Spot repair | Surrounding material is still doing its job; no reason to touch it |
| Corroded fasteners causing boards to loosen in one area | Re-fasten with corrosion-resistant hardware, replace affected boards | Fixes the actual mechanism, not just the loose board |
| Moss/algae staining with sound material underneath | Clean and treat, monitor | Cosmetic and preventive — no structural repair needed yet |
| Soft sheathing found behind removed siding | Open repair — sheathing replacement, then re-side that section | Covering rot back up guarantees a repeat failure |
| Multiple elevations showing the same failure pattern, siding is 20+ years old | Full replacement | Patching an aging system elevation by elevation costs more over time than doing it once, correctly |
Repairing Different Siding Types We Find on Existing Homes
We only install James Hardie fiber cement, but a lot of the repair calls we get are on homes with something else already on the wall. Knowing how each product actually fails is part of doing the diagnosis right.
Vinyl
Vinyl cracks in cold snaps and warps or buckles when heat and moisture cycle it repeatedly. Wind-driven rain can work behind loose or expanded panels at the J-channels and corners. Matching an old vinyl color for a patch is often impossible once it's faded, which is one of the honest downsides of the product homeowners run into at repair time.
Wood and Cedar
Wood siding is the most vulnerable to this climate's moss season and driving rain. Once moisture gets past the paint or stain film, rot can spread inside the board before it's visible from outside. Repairs on wood siding almost always involve more hidden damage than they appear to on the surface.
Older or Non-Factory-Finished Fiber Cement
Fiber cement that wasn't finished with a durable factory coating can suffer paint failure and edge swelling at cut ends and joints that weren't properly sealed during the original install. This is a big part of why we standardized on James Hardie's ColorPlus finish for anything we install — it's engineered and warrantied specifically to hold up against this kind of exposure.
What a Correct Repair Involves
A repair that's actually built to last, rather than just to look fixed, includes a few things that are easy to skip if a crew is moving fast:
- Removing enough surrounding material to see the true extent of damage, not just the visible crack or gap.
- Checking and correcting the water-resistive barrier and flashing underneath before anything new goes back on.
- Matching board profile, reveal, and — where using James Hardie product — ColorPlus finish so the repair doesn't stand out as a patch.
- Using corrosion-resistant fasteners appropriate for this climate, not standard hardware that will corrode again in a few seasons.
- Sealing joints and trim to manufacturer spec, since improvised caulk work is one of the most common causes of repeat failures we see.
Why We Only Install James Hardie for Repairs and Replacements
When a repair grows into a section replacement, or a homeowner decides it's finally time to re-side, we install James Hardie fiber cement and nothing else. It's non-combustible, engineered specifically for wet Pacific Northwest climates through Hardie's HZ5 product line, and the ColorPlus factory finish is built to resist exactly the kind of moss, algae, and moisture exposure that causes repeat siding failures around here. It also carries a strong transferable warranty, which matters to homeowners who want a repair or replacement to actually be the last one for a long time. We don't install LP SmartSide, vinyl, Cemplank, Allura, primed spruce, or cedar — not because those products have no merit, but because we've made a professional call about what holds up best, with the least maintenance burden, in this specific climate.
Working the Lynden–Abbotsford Corridor
Working consistently on both sides of the border means we're not learning this area's weather pattern for the first time on your job. We know which wall orientations take the worst of the wind-driven rain, how aggressively moss establishes on shaded elevations here, and what corrosion looks like on fasteners that have been in place through a few Pacific storm seasons. That local pattern recognition speeds up diagnosis and keeps repairs from turning into guesswork.
A Practical Pre-Repair Checklist for Homeowners
- Look for soft spots when you press gently on siding near ground level and under windows.
- Check for streaking or staining below seams, which often signals water tracking behind the boards.
- Note any boards that flex or feel loose when you push on them lightly.
- Look at north- and east-facing walls specifically for moss or algae buildup.
- Check caulking at trim, windows, and corners for cracking or gaps.
- If you have interior drywall stains or musty smells on an exterior wall, treat it as a priority — it usually means water has been getting in for a while.
If you're seeing any of this on a home in Abbotsford, BC or the surrounding Lynden area, we're glad to take a look. A free, no-pressure estimate gets you a straight answer on what's actually going on and what it'll take to fix it right — no obligation, just fill out the form below.