 Lynden Siding
 New-Construction Windows, Built for a Sumas Job Site
New-construction windows are a different job than replacing an old window in an existing wall. On a new build in Sumas, the window opening is still raw framing, the weather-resistive barrier hasn't been finalized, and the window itself has a nailing fin that gets integrated directly into the wall's water management system before siding ever goes on. Get that sequence right and the window will perform for decades. Get it wrong — even in small ways, like a missed flashing lap or an over-driven fin nail — and you end up with a leak that doesn't show up until the drywall or sheathing behind it has already been wet for a season or two.
We install new-construction windows on builds throughout Whatcom County, including homes going up around Sumas. That local experience matters more than it sounds like it should, because the right install for a house here has to account for conditions that don't show up the same way in a drier climate.
Why Whatcom County's Climate Changes the Install
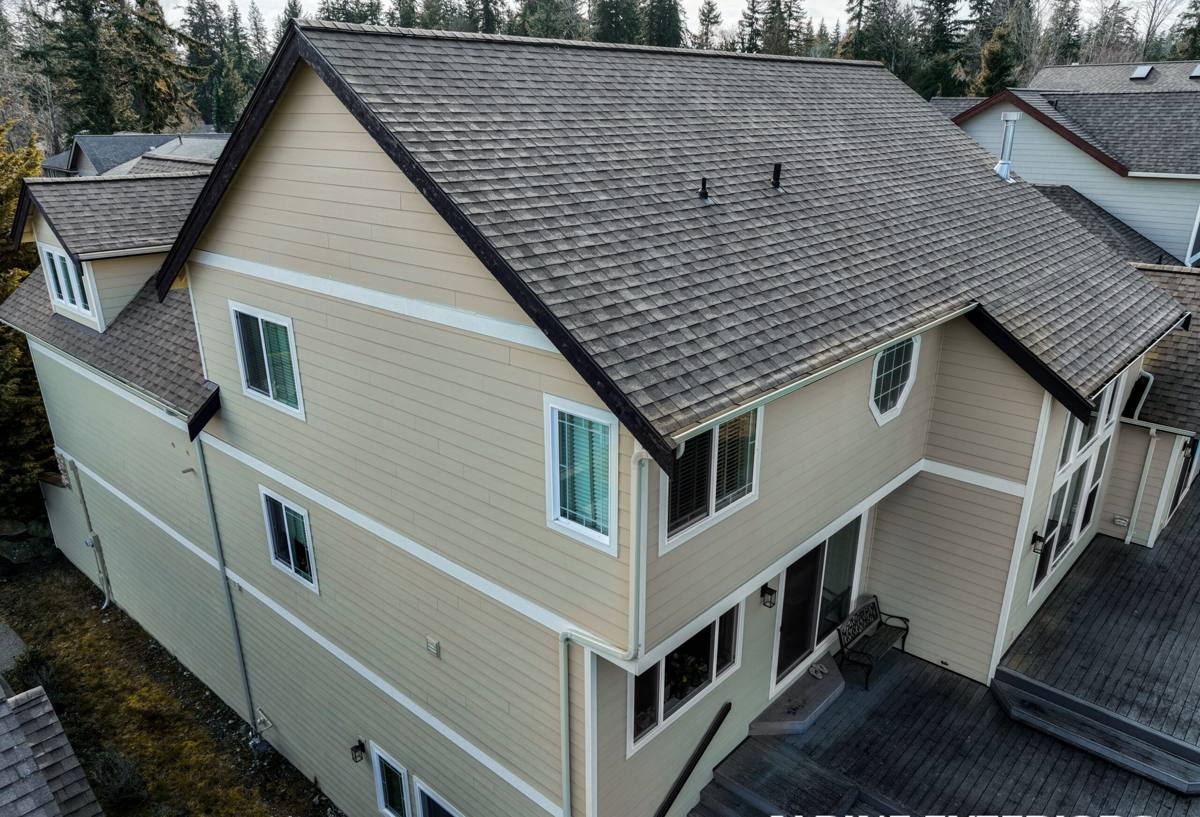
Sumas sits in a part of Whatcom County that gets a lot of wet weather over the course of a year — long stretches of steady rain, wind-driven storms that push water sideways into wall assemblies, and enough persistent dampness to grow moss on north-facing siding and trim if it's not detailed to shed water and dry out. Add in the marine air that moves through this region off the Sound and Strait, and you've got a climate that's genuinely hard on window openings that were rushed or under-flashed.
None of that means new-construction windows are complicated to get right. It means the water management details — flashing tape, head flashing, sill pans, proper laps with the weather-resistive barrier — aren't optional extras. They're the difference between a window opening that sheds driving rain for 30+ years and one that starts letting moisture into the wall cavity within a few winters.
What "Driving Rain" Actually Does to a New Window Opening
Wind-driven rain doesn't just fall on a window — it gets pushed up and under trim, into any gap around the nailing fin, and behind head flashing that wasn't lapped correctly. On a new build, this is exactly the moment to prevent that, because the wall is open and every seam is accessible. Once siding and interior finishes are in, fixing a flashing mistake means tearing back into a finished wall.
What a Correct New-Construction Window Install Involves
A new-construction window install is really a sequence of small, specific steps, each one setting up the next. Skipping or rushing any one of them is usually what causes problems later.
Flashing and Water Management
- Sill pan flashing installed first, sloped or with back-dam protection so any water that gets past the window drains back out, not into the framing
- Weather-resistive barrier cut and prepped with the correct flap sequence at the sill and jambs before the window ever goes in
- Window set into the opening, leveled, plumbed, and squared before any fasteners go in
- Head flashing installed last and lapped over the WRB above the window — never tucked under it
- Flashing tape run in the correct shingle-lap order at jambs and head, so every layer sheds water down and out, never up and in
Fastening and Structural Fit
The nailing fin has to be fastened per the window manufacturer's spec — right fastener type, right spacing, driven flush without overdriving and distorting the fin. We shim the frame so it's not relying on the fasteners alone to hold its shape, which matters for how smoothly the sashes operate for years, not just on install day.
Energy Code Compliance
Washington's energy code sets minimum U-factor and, in some cases, solar heat gain requirements for window assemblies, and those numbers get checked at inspection on new builds. We confirm window specs meet code for the project before install, not after, so there's no surprise at inspection or a scramble to swap units.
Choosing the Right Window for a Sumas New Build
Frame material is one of the bigger decisions on a new build, and it's worth weighing against this climate specifically — sustained moisture exposure, temperature swings, and UV over time.
| Frame Material | How It Handles Local Moisture | Maintenance | Typical Cost Position |
|---|---|---|---|
| Vinyl | Won't rot or corrode; performs well in damp climates | Low — occasional cleaning | Most affordable |
| Fiberglass | Very stable through temperature and moisture cycling; strong long-term seal performance | Low | Mid to upper-mid |
| Wood-clad | Good performance if cladding and flashing details are correct; exposed wood interior needs protection from condensation | Moderate — interior finish upkeep | Highest |
| Aluminum | Durable but conducts cold; can be prone to condensation in this climate without a thermal break | Low | Mid |
There isn't a single right answer for every project — it depends on the home's design, budget, and how the windows integrate with the siding and trim package. We'll walk through the trade-offs for your specific build rather than push one product across the board.
Our Process on a New-Construction Job
We work directly with builders, general contractors, and homeowners managing their own build, and we fit into whatever framing and inspection schedule the project is already running on.
- Plan review: we check window schedules against rough openings and confirm sizes, swing/operation types, and U-factor requirements before ordering
- Opening prep: we verify rough openings are square, plumb, and properly sized before flashing begins — catching framing issues here is far cheaper than after the wall is closed
- Flashing and set: sill pan, WRB integration, window set and shimmed, head flashing — each step signed off before moving to the next window
- Fastening and air sealing: fins fastened to spec, interior air sealing done so the assembly meets code and doesn't leak conditioned air
- Final check: every window operates smoothly, locks engage correctly, and flashing laps are visually confirmed before siding crews close the wall
Why Hiring a Crew That Already Works Sumas Jobs Matters
New-construction window install isn't hard to explain, but it's easy to get subtly wrong in ways that don't show up until years later. A crew that's used to Sumas-area builds already knows what Whatcom County's inspectors are checking for, understands how local siding trades sequence their work around window flashing, and has already made the adjustments that this region's rain and marine air demand. That familiarity means fewer surprises mid-build and fewer callbacks once the home is finished and occupied.
It also means we're not learning on your project. The flashing sequence, the fastener spacing, the code minimums — those get executed the same careful way whether it's the first house on a street or the last one, because that consistency is what actually prevents leaks.
Common Mistakes That Cause Problems Later
Most window leaks on new builds trace back to one of a small handful of installation shortcuts, not a defective window. Knowing what to watch for is useful whether you're hiring us or evaluating another crew's work.
- Head flashing tucked under the WRB instead of lapped over it, which funnels water directly behind the barrier
- No sill pan or back-dam, so any water that gets past the window has nowhere to go but into the framing
- Fins fastened without shims, letting the frame rack out of square over time and causing sashes to bind or fail to seal
- Flashing tape applied out of shingle-lap order, or applied to a wet or dirty surface where it won't adhere long-term
- Window sizes or U-factors that don't match the approved plans, caught only at final inspection
What to Expect After Move-In
A correctly installed new-construction window shouldn't need attention for years beyond normal cleaning. Here's a short checklist worth running through each fall, especially heading into the wetter months typical of this area:
- Check that exterior caulking at trim edges is intact — hairline gaps are normal to touch up, but any separation at a corner or sill should be sealed promptly
- Operate each window at least once each season so hardware doesn't seize and weatherstripping stays compressed correctly
- Look for moss or algae starting to build on north-facing trim and clean it early, before it holds moisture against the wood or paint
- Watch for any interior staining below a sill, which is the earliest sign of a flashing issue and worth having checked before it spreads
If anything here looks off on a window we installed, that's a warranty conversation, not a project — we'd rather hear about it early.
Get a Free, No-Pressure Estimate
If you're building in Sumas or elsewhere in Whatcom County and want window installation done right the first time, we're glad to walk through your plans, talk through frame options, and give you a straightforward estimate — no pressure, no sales pitch. Use the form below to get started.